
- Why RV Roof Maintenance Is Important
- How to Inspect Your RV Roof
- Cleaning Your RV Roof: A Step-by-Step Guide
- How to Repair RV Roof Leaks
- Preventing Future Roof Issues
Why RV Roof Maintenance Is Important
Proper RV roof maintenance is essential for ensuring the longevity of your vehicle and protecting your interior from the damaging effects of leaks and weather conditions. Without regular care, the roof of your RV can develop issues that lead to costly repairs or worse—significant water damage to the interior.
Given the constant exposure to harsh elements, including sun, rain, and wind, your RV roof faces constant wear. Whether you're an avid traveller or use your RV for weekend getaways, taking the time to inspect and maintain your roof will prevent unnecessary headaches down the road.
How to Inspect Your RV Roof
Inspection is the first step in ensuring your RV roof is in good condition. Here’s how you can conduct a thorough inspection of your RV roof:
Parkview Manufactured Housing & RV Community
TrainerDelaware CountyPennsylvania
4300 W 9th St Lot 84, Trainer, PA 19061, USA
1. Check for Cracks and Damage
Start by visually inspecting the roof for any visible cracks, holes, or tears. Look for areas where the roofing material might be lifting, which could lead to leaks. Pay special attention to seams, edges, and corners, as these areas are often more susceptible to wear and tear.
2. Inspect the Seals
Seals around vents, skylights, and air conditioning units are especially vulnerable to damage. Check the caulking and seals for any cracks, gaps, or signs of degradation. If these seals are compromised, water can easily seep in and cause extensive damage.
3. Look for Water Stains Inside
Check the interior of your RV, particularly around the ceiling and walls near the roof, for any signs of water stains. Water stains indicate that there may be a leak in the roof that needs immediate attention.
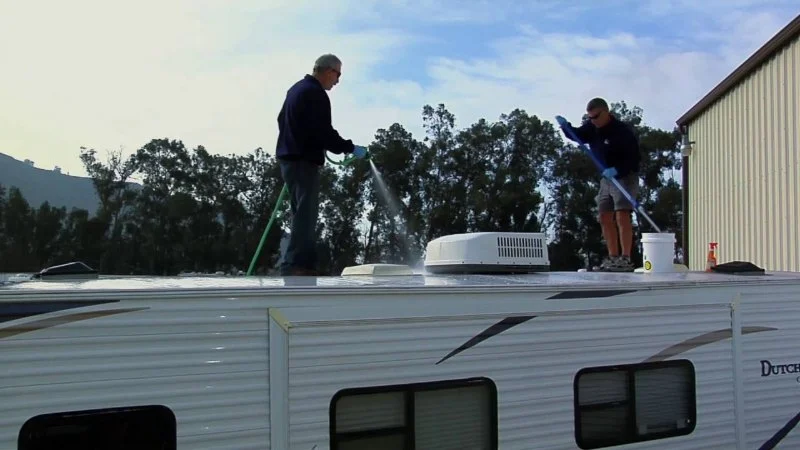
Cleaning Your RV Roof: A Step-by-Step Guide
Regular cleaning is crucial to maintain the integrity of your RV roof. Dirt, debris, and even mold can cause wear over time if not cleaned properly. Here's a simple guide to cleaning your RV roof:
1. Gather the Right Supplies
Before you start, make sure you have the right cleaning supplies. You'll need a soft-bristled brush, mild soap, water, a bucket, and a hose. Avoid using harsh chemicals that could damage the roof material.
2. Rinse the Roof
Start by thoroughly rinsing the roof to remove any loose debris. Use a hose to wet the surface, ensuring it’s completely damp before you begin scrubbing.
3. Clean the Roof
Mix mild soap with water in your bucket, and use the soft-bristled brush to scrub the roof in circular motions. Start at one end of the roof and work your way to the other end, paying extra attention to the seams and edges. If necessary, use a sponge to clean delicate areas around vents or skylights.
4. Rinse and Dry
After scrubbing, rinse the roof thoroughly to remove all soap and dirt. Use a clean towel to wipe down the roof, ensuring that no water remains trapped in any seams or cracks.
How to Repair RV Roof Leaks
If you’ve found leaks during your inspection, it’s important to take immediate action to prevent further damage. Here’s how to repair RV roof leaks effectively:
1. Identify the Leak Location
Once you've located the leak, mark the area so you can easily access it. Be sure to check inside the RV for signs of water leakage to determine the exact spot of the leak.
2. Clean the Area Around the Leak
Before applying any sealant, clean the area around the leak to ensure the adhesive will bond properly. Use a damp cloth to remove any debris, dirt, or old sealant, and let the area dry completely.
3. Apply a Roof Sealant
Once the area is clean and dry, apply a high-quality RV roof sealant or patch material specifically designed for the type of roof your RV has (rubber, fiberglass, etc.). Follow the manufacturer’s instructions for application, ensuring that the sealant covers the entire affected area.
4. Let the Sealant Cure
Allow the sealant to cure as per the manufacturer’s instructions. Be patient—this step is crucial to ensure a long-lasting fix.
Preventing Future Roof Issues
To keep your RV roof in top condition and avoid future leaks or damage, here are some preventive steps:
1. Regular Inspections
Conduct regular roof inspections every few months, especially before and after taking long trips. Early detection of issues can save you time and money in repairs.
2. Keep the Roof Clean
As mentioned earlier, cleaning the roof regularly helps prevent buildup of dirt, mold, or algae, which can cause premature damage to the roof. Cleaning every few months is recommended.
3. Reseal When Necessary
Over time, the seals around vents and other components will degrade. It’s essential to check the seals regularly and reapply sealant when necessary to keep your roof leak-free.
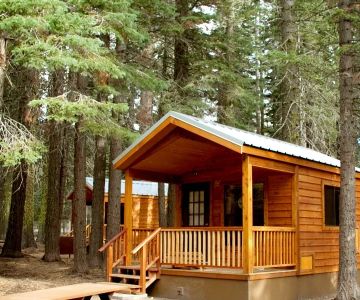
Why You Should Choose Camping Cabins for Your Next RV Adventure
Whether you’re looking to protect your RV from leaks or want to ensure a comfortable camping experience, choosing the right accessories is key. For more information on products that can help maintain your RV, check out Camping Cabins. From RV care products to helpful services, we offer everything you need to ensure your RV roof stays in top condition for your next adventure.


 East Hampton Village Manufactured Home Community4.0 (49 reviews)
 Wading Pines Camping Resort4.0 (435 reviews)
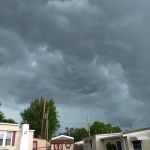 Terry's Mobile Home Park3.0 (137 reviews)
 Delaware Seashore State Park North Campground4.0 (168 reviews)
 Marsden Tract Group Campground4.0 (38 reviews)
 Thousand Trails Chestnut Lake4.0 (299 reviews)
 Why Winter is the Best Time for a Camping Cabin Getaway
 Best Remote Camping Cabins for Stargazing and Night Adventures in the U.S.
 The 10 Must-Have Amenities for a Comfortable Stay in Your Camping Cabin
 Winter Camping Cabins: How to Stay Cozy and Warm in the Cold
 How to Create the Ultimate Outdoor Experience with a Camping Cabin
 Best Camping Cabins with Stunning Views of National Parks and Forests